A Rare Find
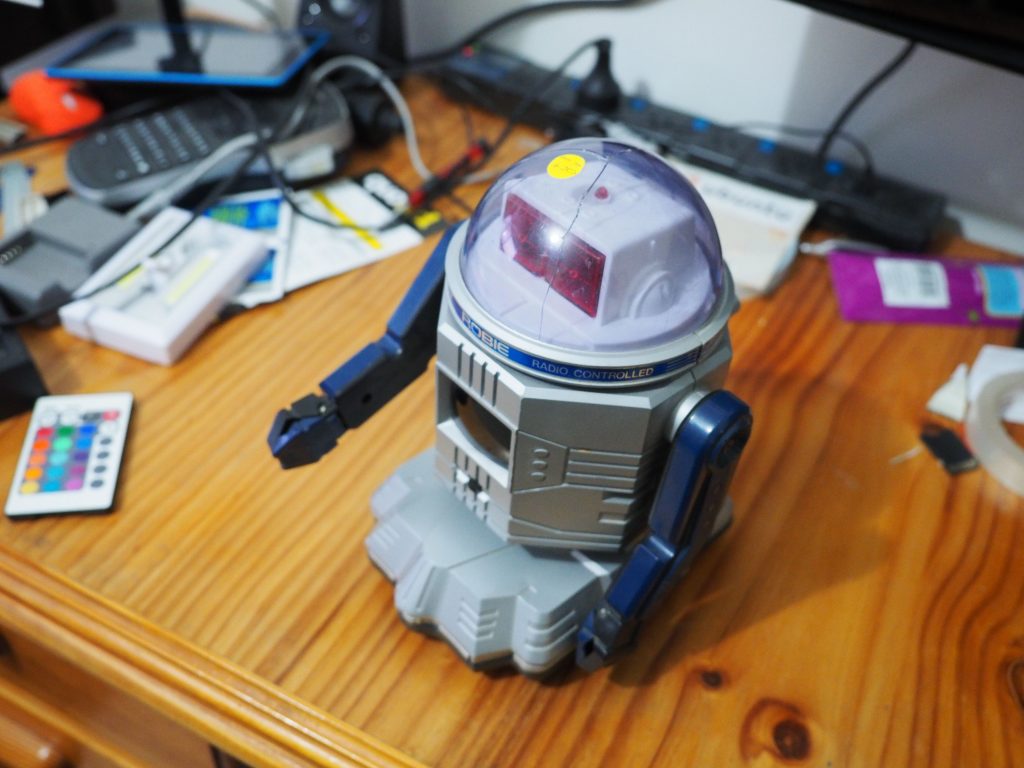
I was in an vintage collectables store and saw a beaten up old ‘Robie the Robot’ forgotten at the back of a shelf. It’s dome was cracked and it’s remote missing. Robot collectors are quite voracious in Canberra with most robots snapped up within days. However, it seems nobody relished this rough robotic remnant, so I got it cheap.
This robot was also known as: Tandy Robie, Radio Shack Robie, Robie the Robot, Talking Robie, RS 4061, Robocom 1000, Robie Parlant, Robocom Robot (Super). There is a good write up about the robot on theoldrobots.
Tear Down
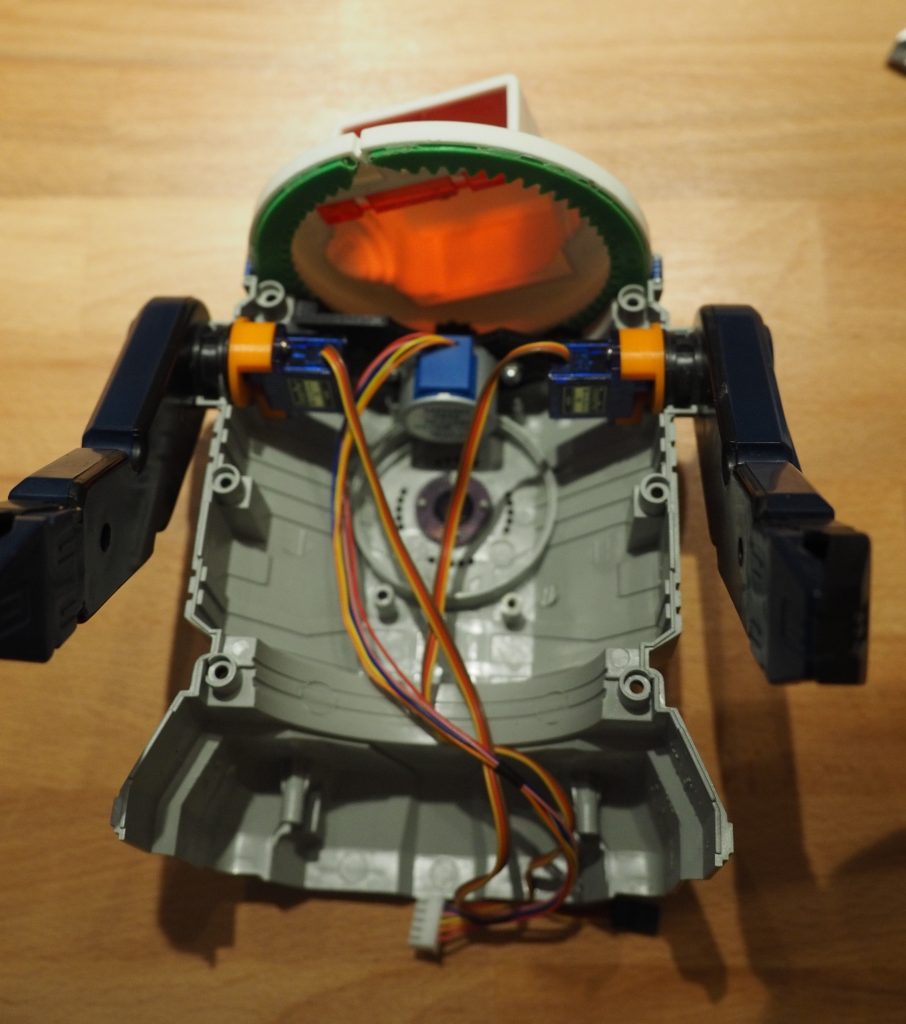
Disassembling Robie I discovered a typical 80’s remote control toy. RC circuitry oozing with leaking capacitor electrolyte and decayed protective lacquer. Apparently the built in speaker could talk, but looking at the circuitry, my guess is it functioned as a wally talky, playing a voice signal from the remote. I didn’t have the remote so I can’t confirm.
The motors were the “old style”; power hungry and weak. The Achilles heel that made all 80’s moving toys kinda nerfed.
The front screen was fake, the heads and arms were not designed to move. I will need to fix all this.
A New Brain.
Decided to throw a pi in there, with a monitor that fits the front screen and a camera because that would be cool.
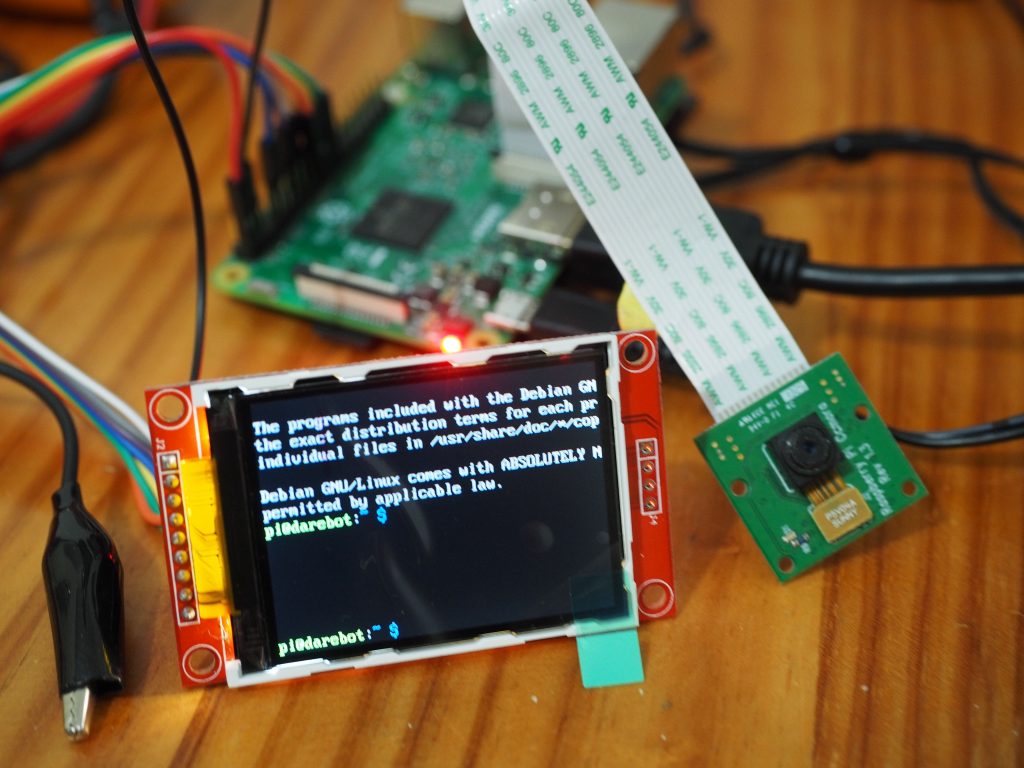
For the display, a generic five dollar 2.2″ SPI TFT LCD that sells for arduino projects works well (fits just behind the front monitor panel). The stock plastic used for Robies display is way to dark for the screen to be visible, so I used a Fresnel lens instead (you can get them from the two dollar shop, sold a book magnifiers).
A front assembly was 3d printed to hold the pi, monitor and camera (such that everything lined up, and the camera could see out of the hole previously used for the frontal on/off switch.

Design in Fusion 360, screen is mounted on the green sled. 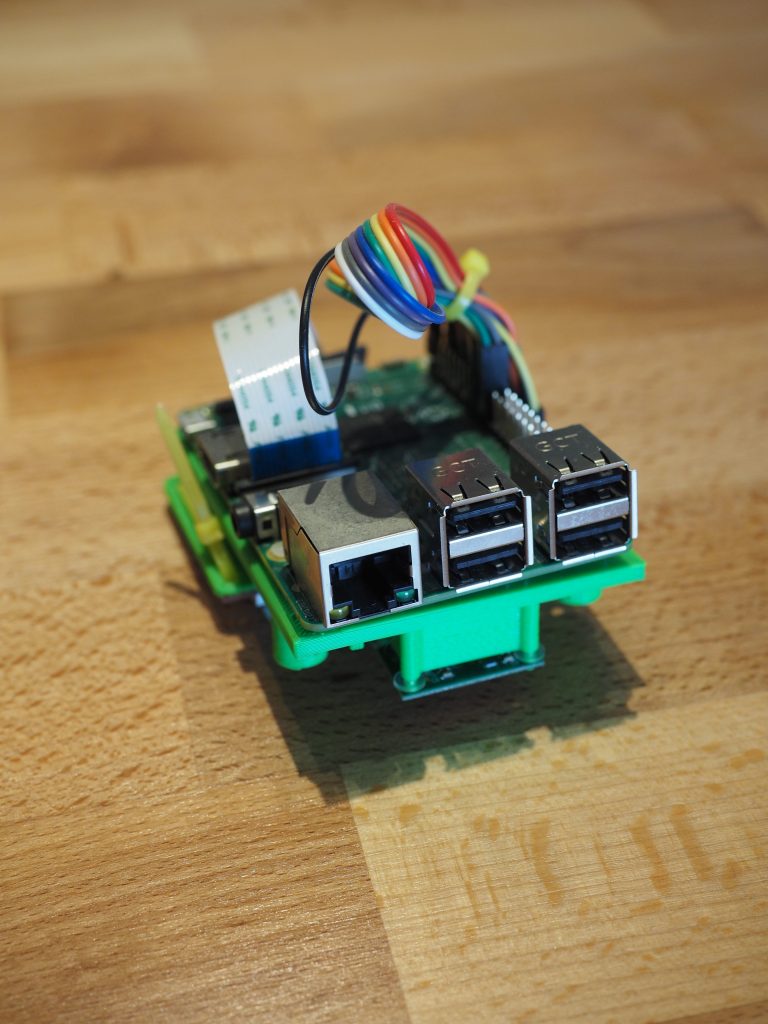
Rear 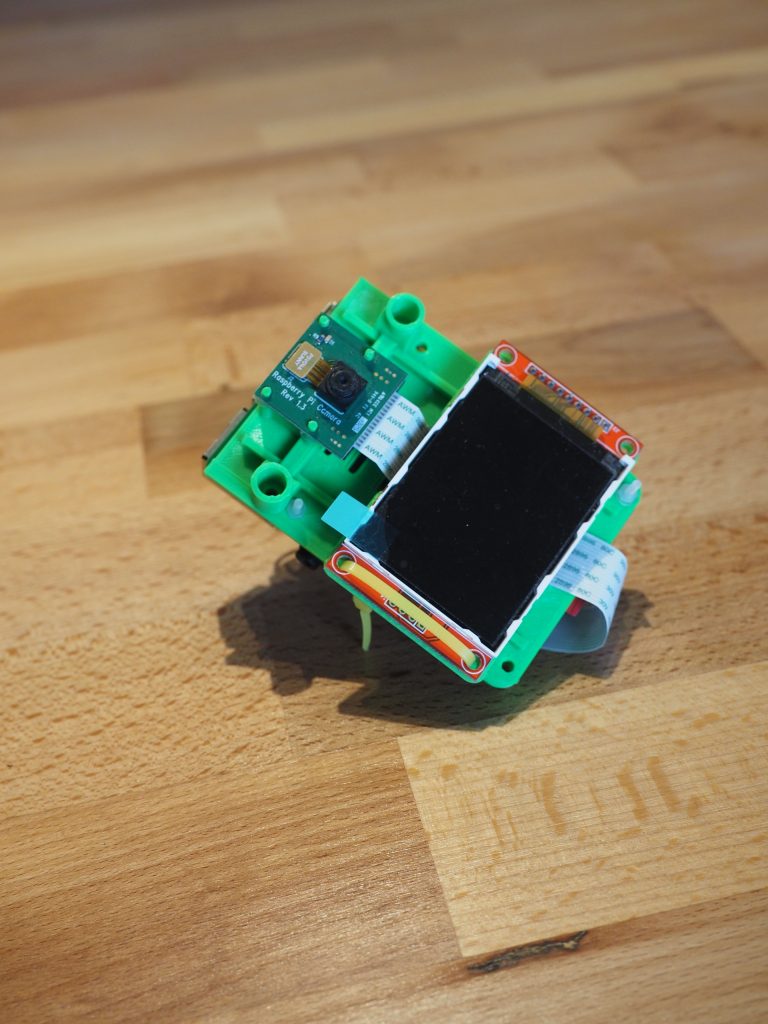
Front 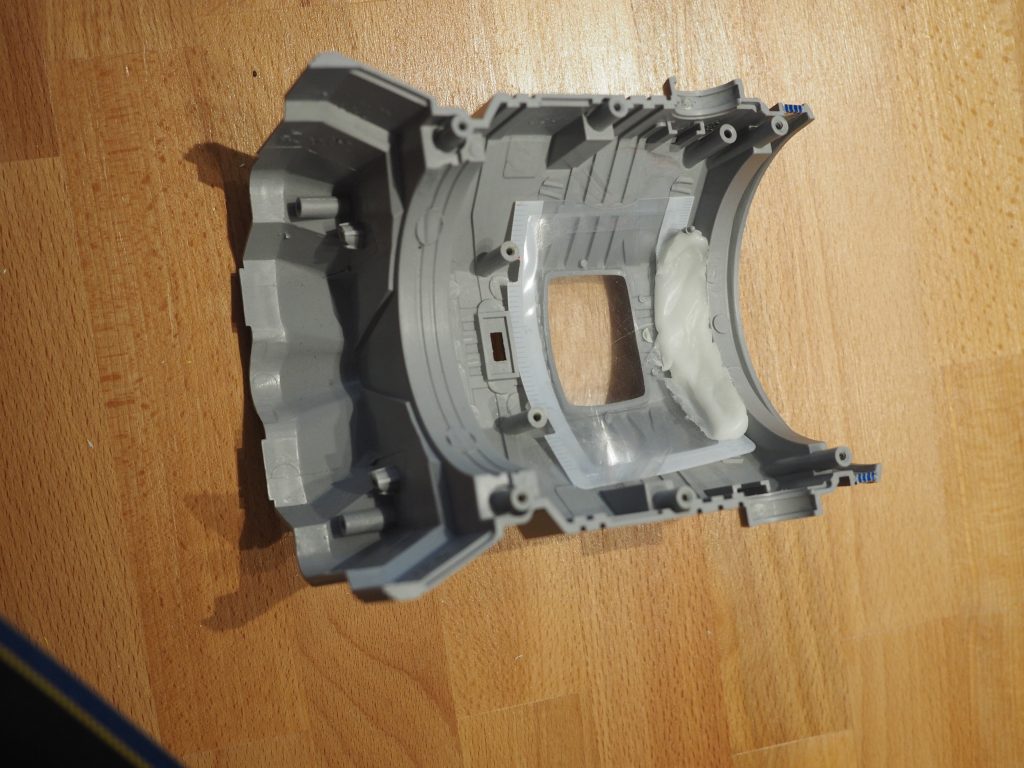
Empty shell, wit Fresnel lens. 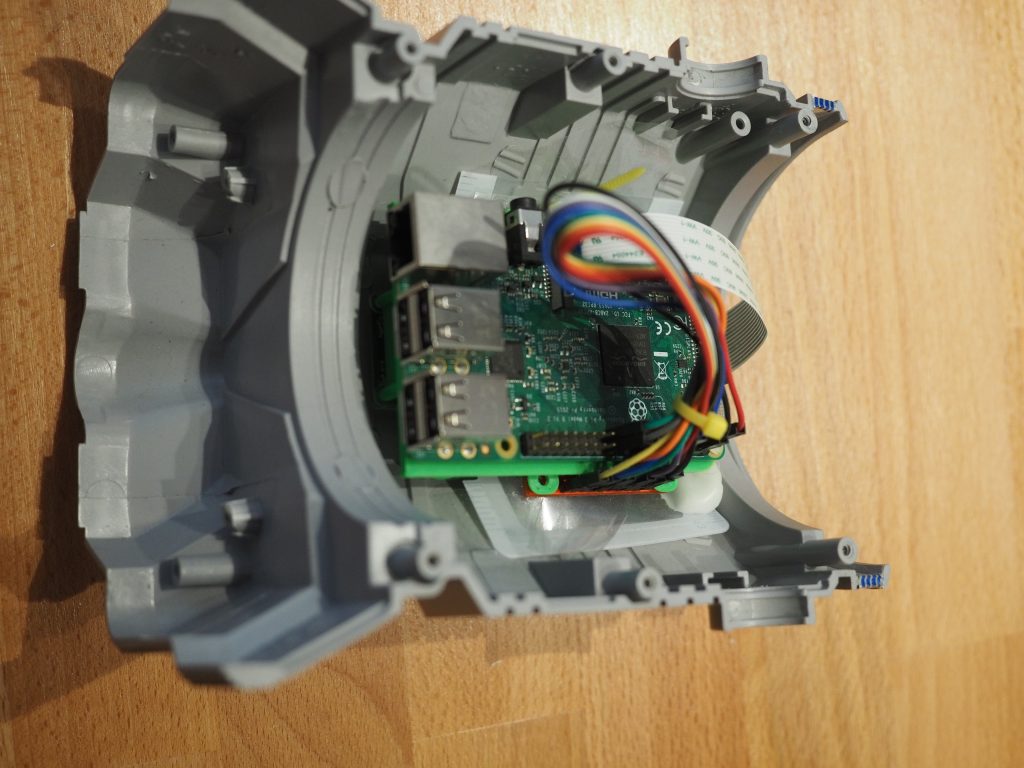
Mount pi.
Motorising the Head
A turntable system was created in OpenSCAD, using the awesome parametric gear library by Dr Jörg Janssen. I didn’t have a 3d printer, so I printed via the ANU Makerspace.
The turntable is driven by a 28byj-48 stepper motor, with a ULN2003 Darlington transistor array driver.
I discovered the original broken dome was most likely not a custom mould, but a security camera dome. I had some difficulty justifying a proper replacement as Australian retailers wanted over $50 for a replacement security camera dome (just the one piece of plastic). So I just replaced the head with a plastic dome from a toy shop.
The result is not quite as fast as I would like, but it was unexpectedly charming.
Getting the arms to move.
A bracket was designed to get some cheap tower-pro servos to fit aligned with the arms. The brackets neatly affixes to old circuit mounting points in the plastic. A custom servo horn will friction fitted the arms to the servo. The existing arm bearing was sanded a bit to get it to slide freely. The result is a much more expressive robot.
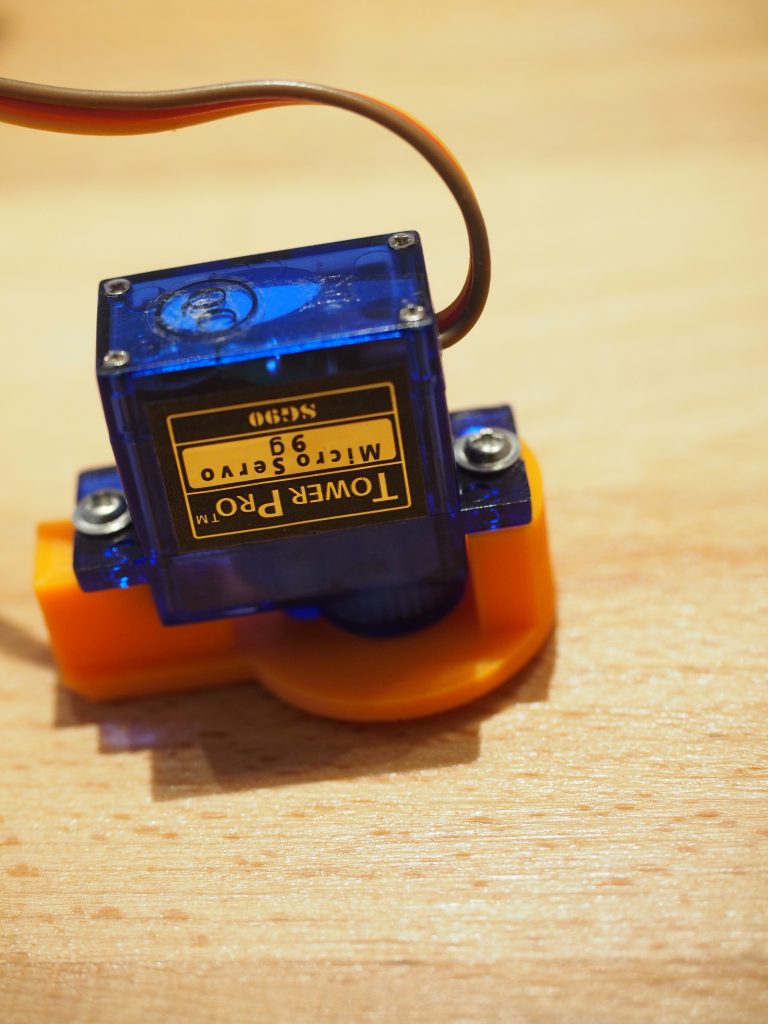
Servo mount rear 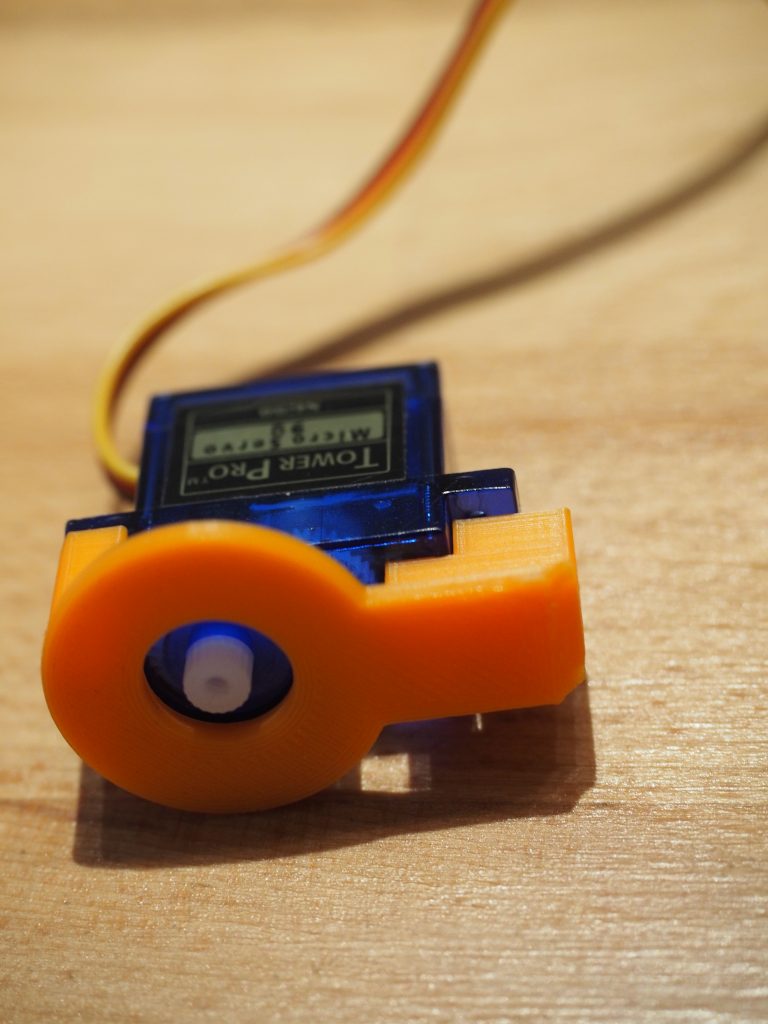
Servo mount top 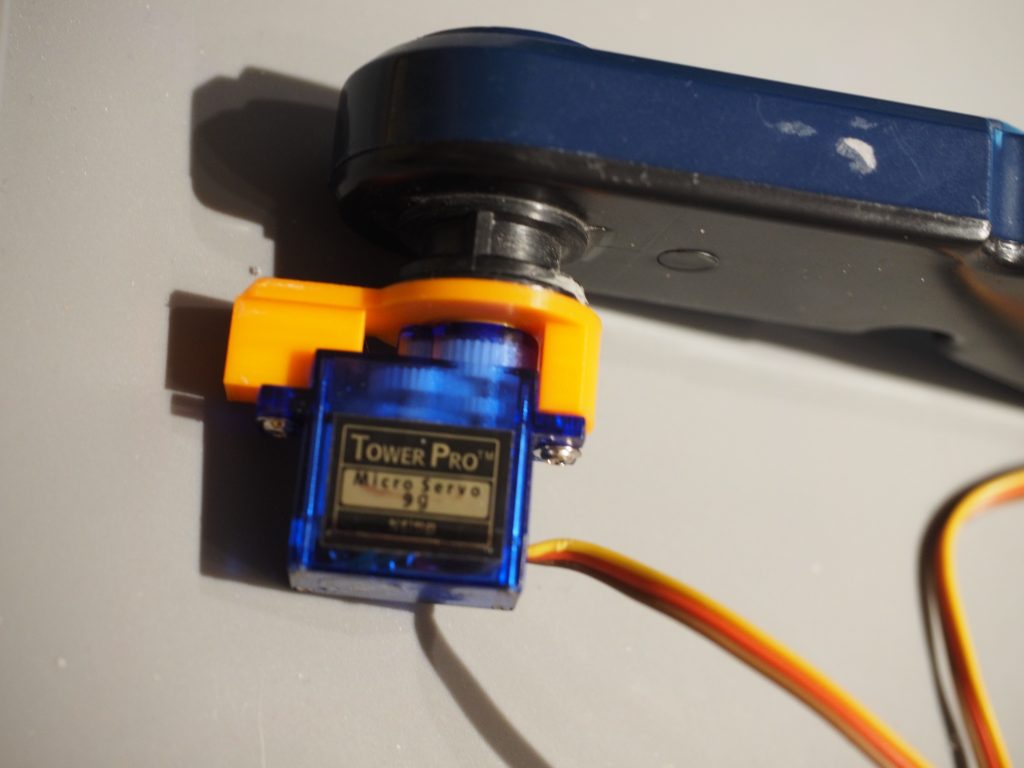
friction fit arm 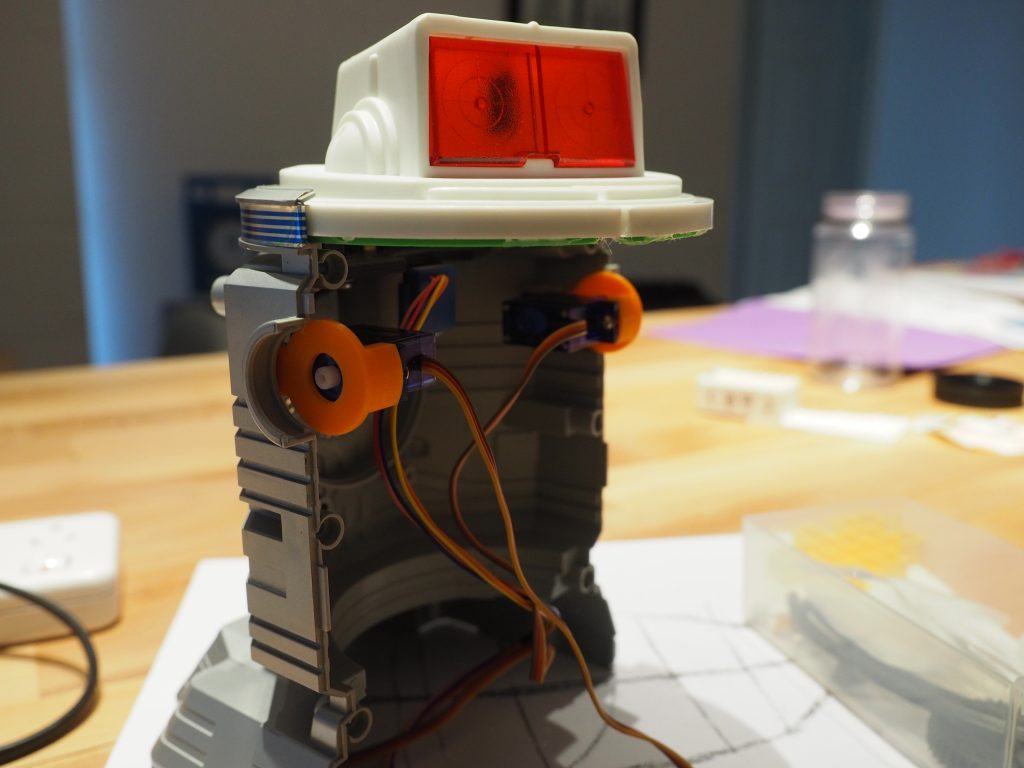
servos installed 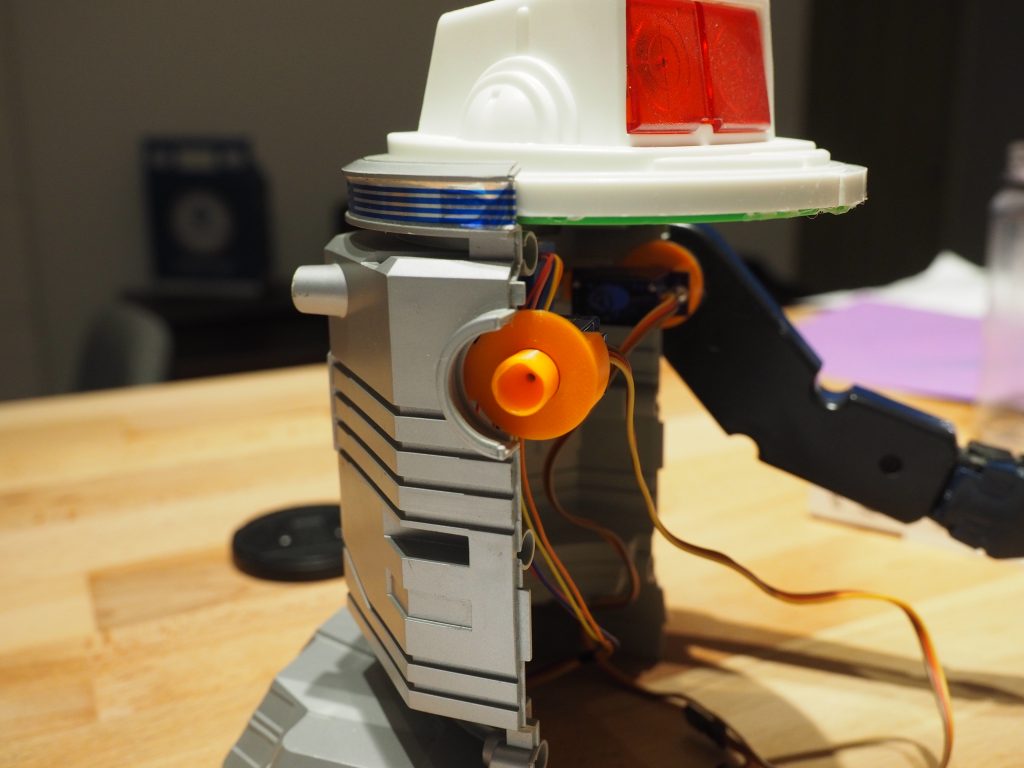
servo horns installed
Whats next.
I have made files for the progress thus far available via github, encase anyone has a Robie of their own and wants to try this. https://github.com/busyDuckman/robbie
Next up I will work on:
- Drive system so Robie can move around.
- Microphone array so voice interaction is possible.
- Control software.
- Personality and human interaction.


